Skip to main content
Menu
Home
Photo Gallery
Our Practice
Our Practice Overview
Your Consultation
Financing Options
Seminars
Plastic Surgery Concierge Services
News Room
Specials and Promotions
Meet Dr. Petti
Meet Dr. Petti
Online Reviews
Written Testimonials
Publications
Surgical Procedures
Facial Rejuvenation
Facial Rejuvenation Overview
Facelift
Neck Lift
Cheek Lift
Eyelid Lift (Blepharoplasty)
Brow Lift
Rhinoplasty
Fat Transfer
SmartSkin™ CO2 Laser Skin Resurfacing
PrecisionTx™ Laser Lift
Breast Enhancement
Breast Enhancement Overview
Breast Augmentation
Breast Implant Revision
Breast Lift with Implants
Breast Lift
Breast Reduction
Mommy Makeover
En Bloc Capsulectomy Breast Implant Removal
Fat Transfer
Body Contouring
Body Contouring Overview
WarmSculpting™ with SculpSure
®
Smartlipo Triplex™
Liposuction
Tummy Tuck (Abdominoplasty)
Mommy Makeover
Body Makeover after Weightloss
Fat Transfer
Cellulite Treatment with Cellulaze™
Vein Treatment
Post-Ozempic
®
Treatments
Male Plastic Surgery
Gynecomastia Surgery
Plastic Surgery Through the Ages
MyEllevate
®
Neck Lift
Non-Surgical Rejuvenation
Non-Surgical Rejuvenation Overview
WarmSculpting™ with SculpSure
®
Light & Laser Treatments
Light & Laser Treatments Overview
CoolPeel™ CO2 Laser Skin Resurfacing
Fractional Laser Peels
SmartSkin™ CO2 Laser Skin Resurfacing
IPL (Intense Pulsed Light) FotoFacial™
2D & 3D Skin Rejuvenations
Laser Hair Removal
PrecisionTx™ Laser Lift
Cosmetic Injectables
BOTOX
®
Cosmetic
Dysport
®
JUVÉDERM
®
JUVÉDERM
®
VOLUX
®
XC
JUVÉDERM
®
SKINVIVE™
Restylane
®
Restylane
®
Eyelight
Sculptra
®
Aesthetic
KYBELLA
®
Lip Enhancement
Skin Rejuvenation and Body Treatments
Skin Rejuvenation and Body Treatments Overview
The Vivace™ Microneedling with Radio Frequency
Economical Non-Surgical Beauty Plan
Blog
Contact
Contact Us
Virtual Consultations
[email protected]
310.539.5888
Christine Petti, M.D, F.A.C.S. Board Certified Plastic Surgeon
Smartlipo™ Gallery
Home
•
Photo Gallery
•
Smartlipo™ Gallery
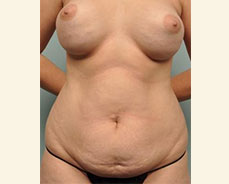
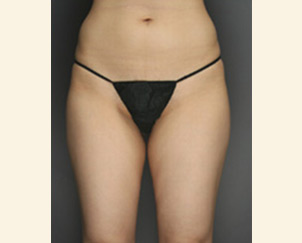
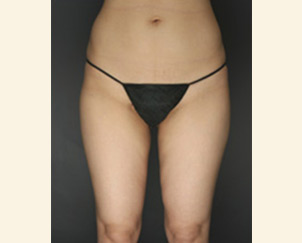
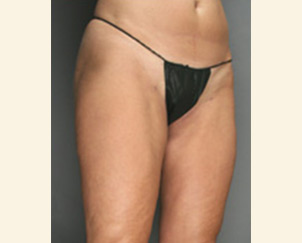
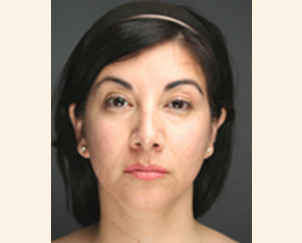
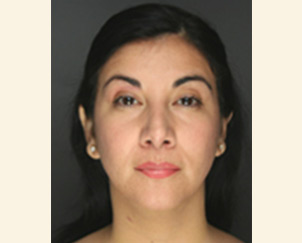
Patient 1
More Details
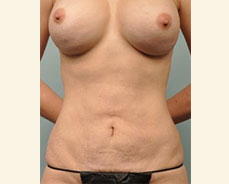
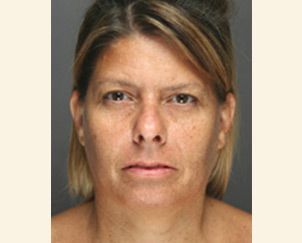
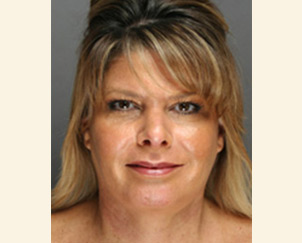
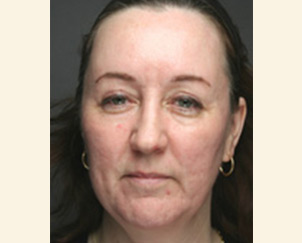
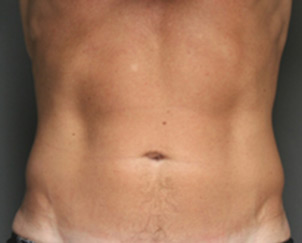
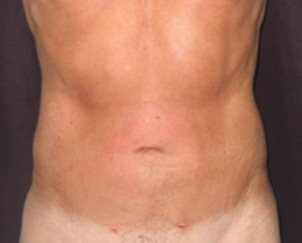
Patient 2
More Details
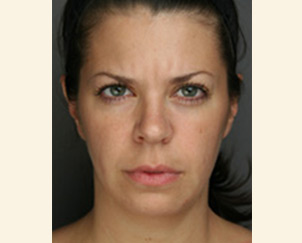
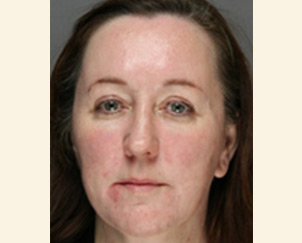
Patient 3
More Details
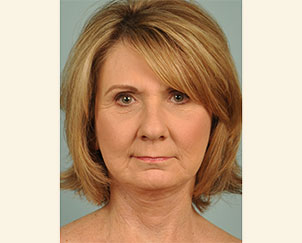
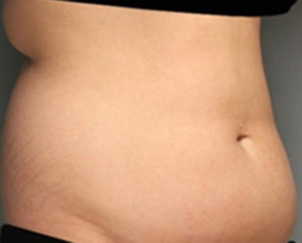
Patient 4
More Details
Patient 5
More Details
Patient 6
More Details
Patient 7
More Details
Patient 8
More Details
Patient 9
More Details
Patient 10
More Details
Patient 11
More Details
Patient 12
More Details
Patient 13
More Details
Patient 14
More Details
Patient 15
More Details
Patient 16
More Details
Patient 17
More Details
Patient 18
More Details
Patient 19
More Details
Patient 20
More Details
Patient 21
More Details
Patient 22
More Details
Patient 23
More Details
Patient 24
More Details
Patient 25
More Details
Patient 26
More Details
Patient 27
More Details
Patient 28
More Details
Patient 29
More Details
Patient 30
More Details
Patient 31
More Details
Patient 32
More Details
Patient 33
More Details
Patient 34
More Details
Patient 35
More Details
Patient 36
More Details
Patient 37
More Details
Patient 38
More Details
Patient 39
More Details
Patient 40
More Details
Patient 41
More Details
Patient 42
More Details
Patient 43
More Details
Patient 44
More Details
Patient 45
More Details
Patient 46
More Details
Patient 47
More Details
Patient 48
More Details
Patient 49
More Details
Patient 50
More Details
Patient 51
More Details
Patient 52
More Details
Patient 53
More Details
Patient 54
More Details
Patient 55
More Details
Patient 56
More Details
Patient 57
More Details
Patient 58
More Details
Patient 59
More Details
Patient 60
More Details
Patient 61
More Details
Patient 62
More Details
Patient 63
More Details
Patient 64
More Details
Patient 65
More Details
Patient 66
More Details
Patient 67
More Details
Patient 68
More Details
Patient 69
More Details
Patient 70
More Details
Patient 71
More Details
Patient 72
More Details
Patient 73
More Details
Patient 74
More Details
Patient 75
More Details
Patient 76
More Details
Patient 77
More Details
Patient 78
More Details
Patient 79
More Details
Patient 80
More Details
Patient 81
More Details
Patient 82
More Details
Back to Main Gallery